

THE SHORT ANSWER
Here’s where to start.
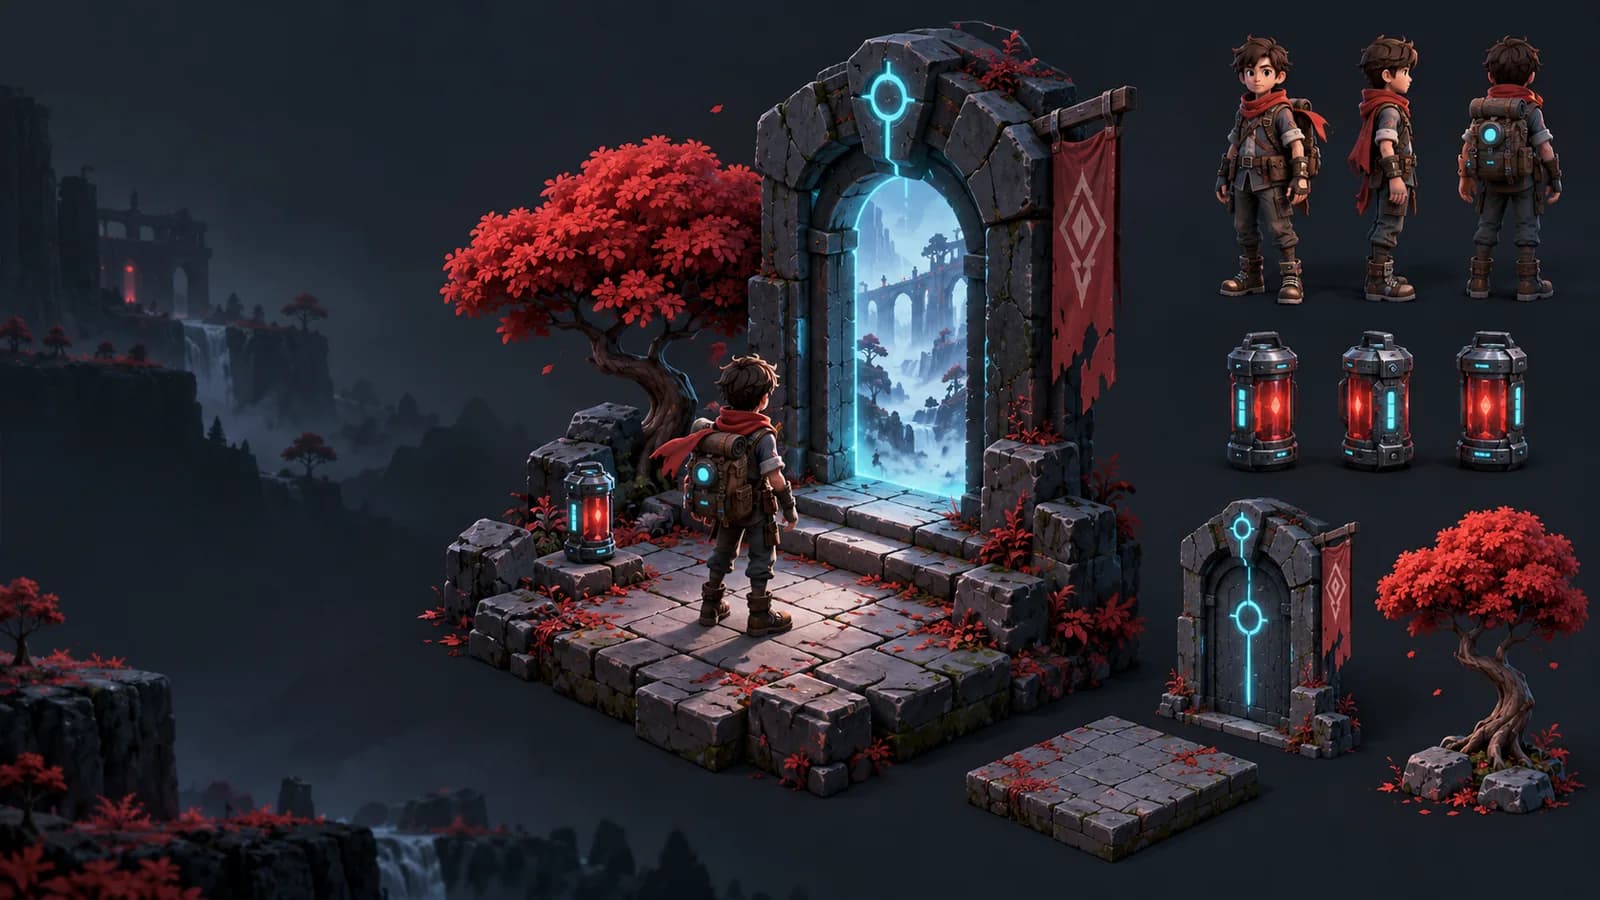
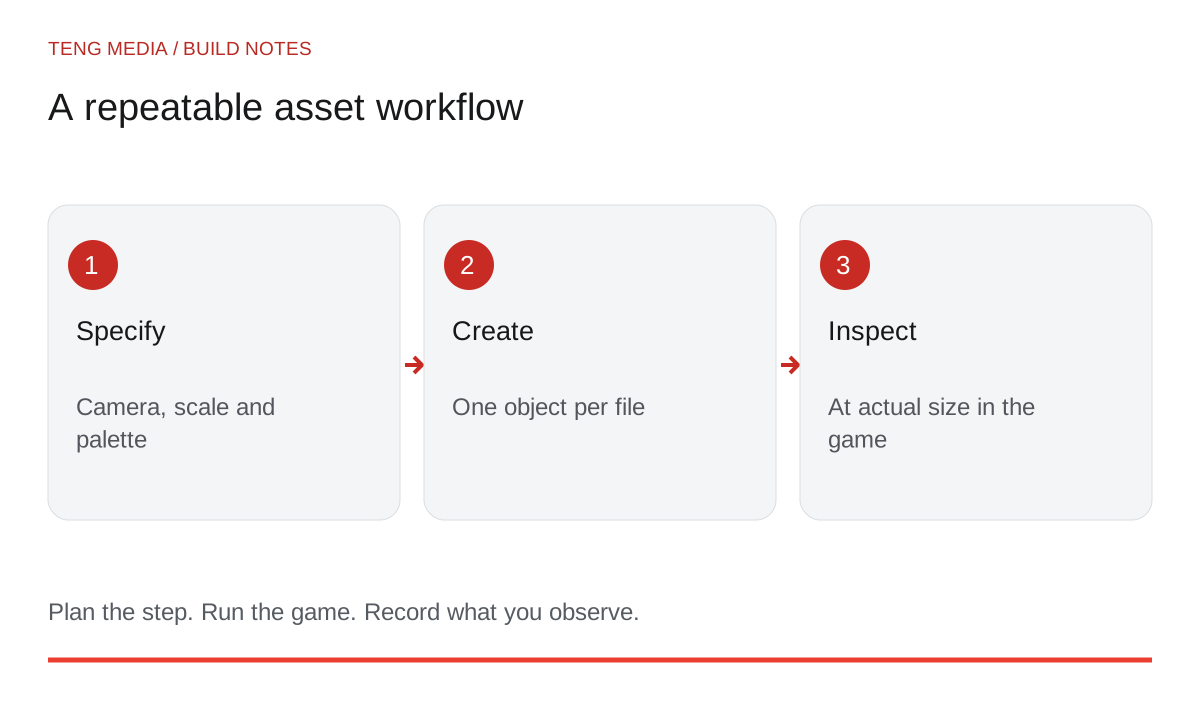
To make consistent game assets with AI, define a visual reference and repeat the same camera, scale, palette and lighting rules. Then inspect every asset inside the game at its actual display size. A collection of attractive images can still look inconsistent once the player, scenery and interface share a screen.
Before you start
Start with a small set: a player, a floor, one obstacle and one collectible. Solve how those pieces fit before making dozens of variations.
Separate mood from asset requirements
A scene illustration can establish atmosphere. A playable asset needs specific properties: dimensions, perspective, framing and a background that works with your engine. A beautiful courtyard image is not automatically a tile map, and a painted character is not automatically an animation.
Create one reference sheet you have permission to use. Record which parts matter: perhaps rounded shapes, muted blue scenery, bright amber collectibles and light from the upper left. Avoid “make it match” as your only instruction.
Write an asset specification
| Property | Example decision |
|---|---|
| Camera | Top-down view with a consistent slight tilt |
| Display size | Collectibles remain recognizable when drawn small |
| Palette | Quiet scenery; amber reserved for interactive pickups |
| Lighting | One agreed direction across objects |
| Framing | Object centered, with consistent space around it |
| Background | Transparent for isolated objects when supported |
| Shape language | Broad readable forms; restrained small details |
| File role | One object per file, with a descriptive name |
Replace these example choices with your project's actual requirements. Canvas dimensions and on-screen size are different decisions: a large source image may become a tiny object during play.
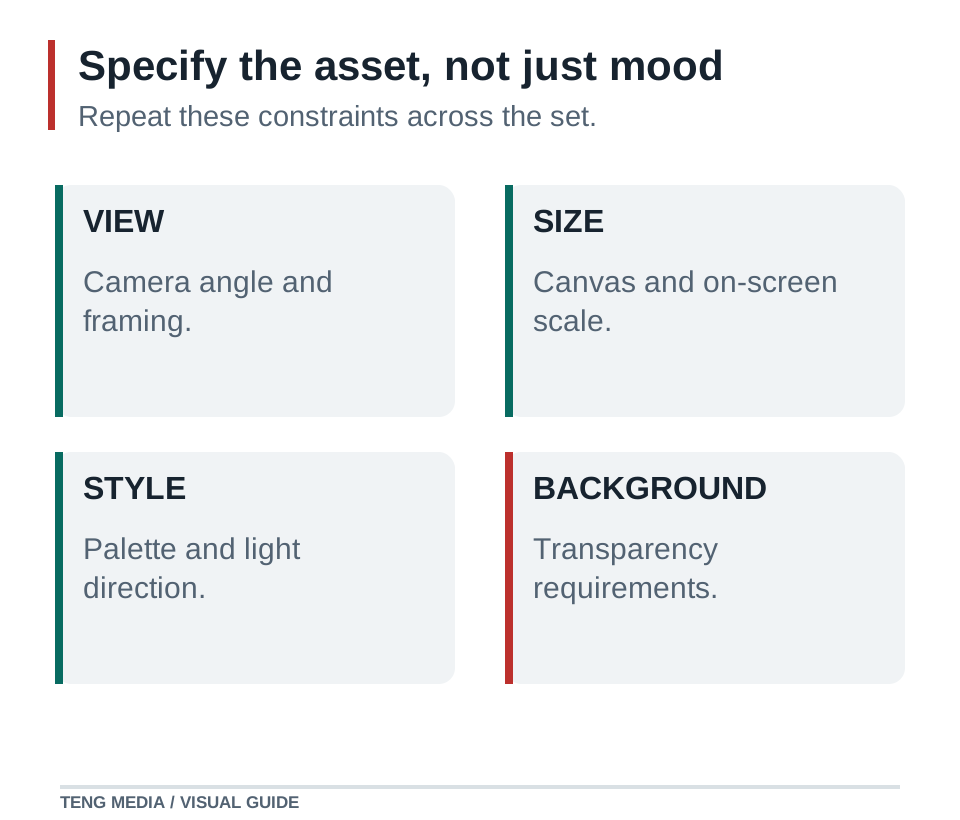
Use an agreed reference as the image input when your tool supports it, as well as describing the constraints in text.
Generate a small family first
Try one collectible, one obstacle and one decorative prop. Check whether their camera angles and lighting make them feel part of the same space. Revise the specification before expanding the set if they do not.
Create one original [asset] using the attached approved visual reference.
Camera: [exact view]. Canvas: [dimensions].
On-screen use: [approximate size and role].
Palette and lighting: [rules].
Match the reference's shape language and detail level.
Background: [requirement]. One object, consistent framing, no text.
Keep [important silhouette feature] readable at the intended size.
Save the prompt, reference and original output in your project records. That makes later variations easier to compare and revise. Our game prompt workshop explains how to keep each request focused.
Inspect the actual file
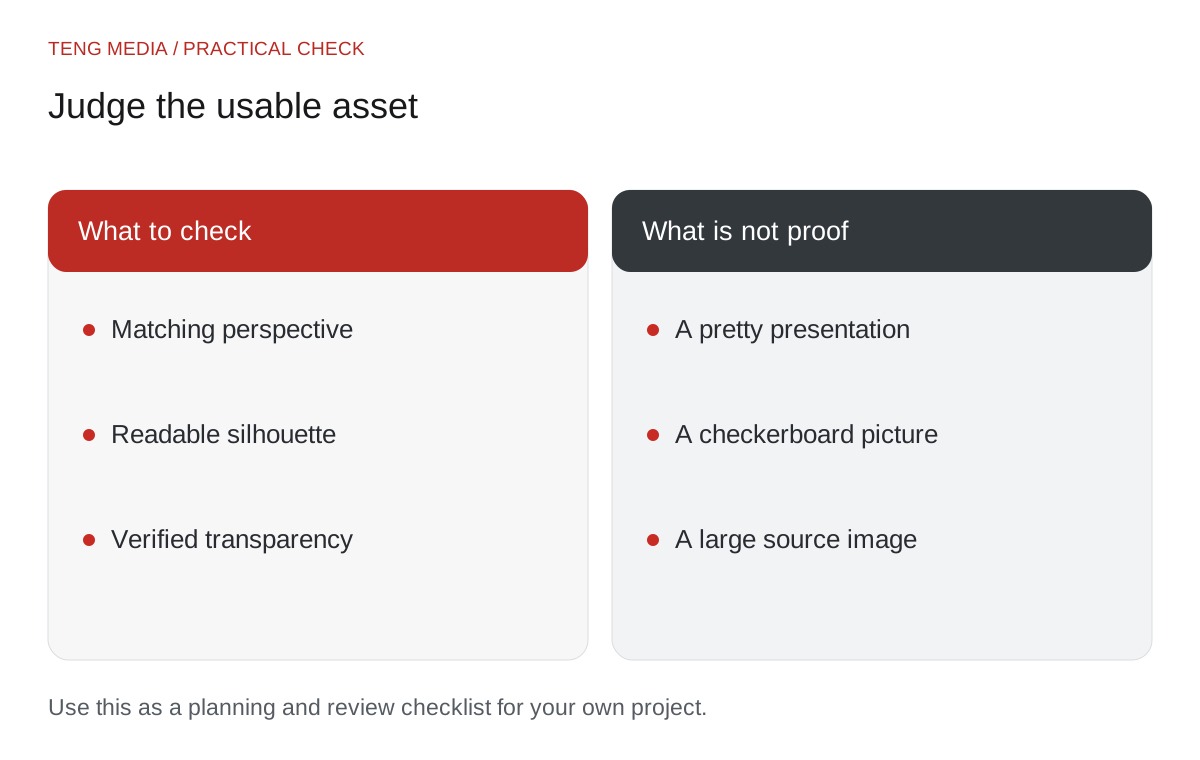
A checkerboard-looking background is not proof that an image contains transparency. Open the file over contrasting backgrounds or inspect its alpha channel with your image editor. Check for a visible rectangle, unwanted fringe or shadow that does not fit your scene.
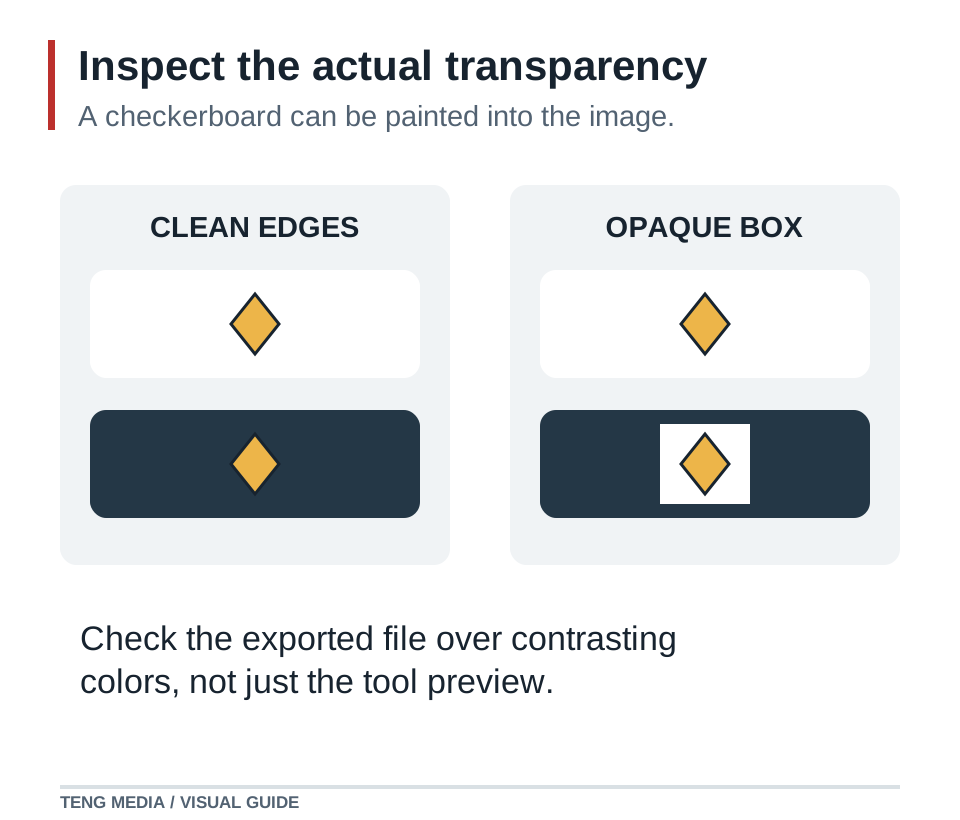
For animation, keep the framing and apparent size consistent between poses. Play the sequence at its intended speed. A single good-looking frame cannot reveal a character jumping around inside its animation bounds.
Keep file names organized by role and variant. Preserve the last usable version so an attractive replacement does not erase the asset that already works.
Judge it in the game
Place the asset on the real background at the actual camera scale. Can you identify the collectible quickly? Does the player disappear beside a wall? Does a decorative prop look more interactive than the object you need to collect?
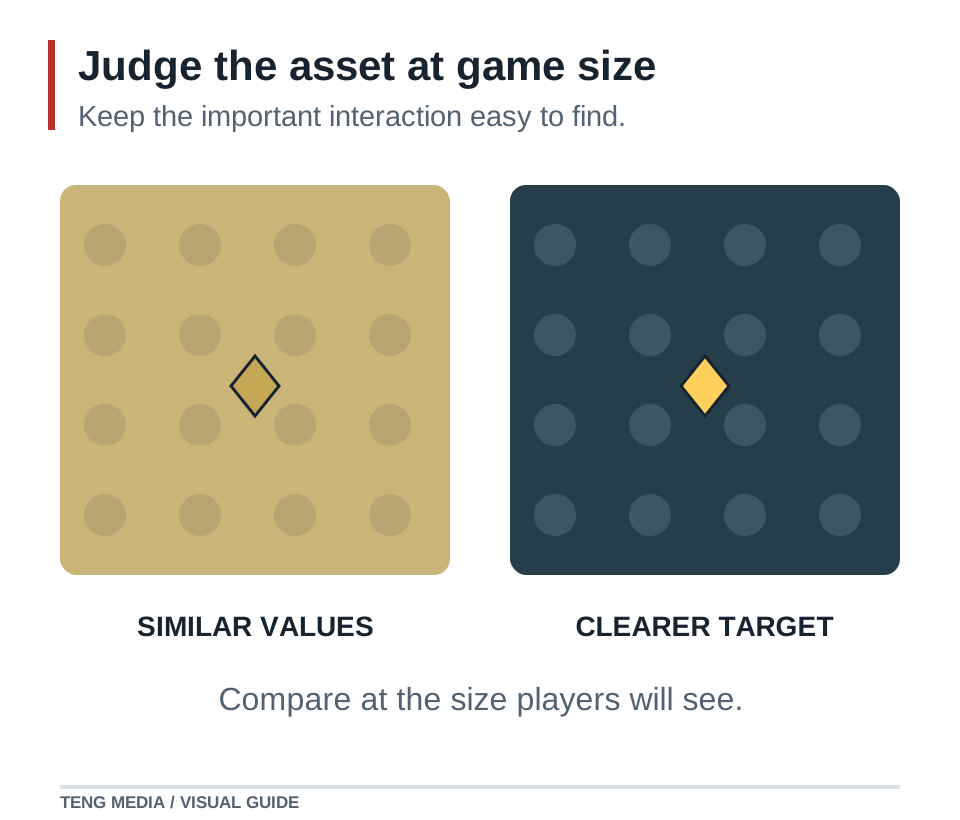
Compare quiet and busy areas of the level. If the collectible becomes hard to see, simplify its silhouette or change the surrounding contrast. Do not solve every readability problem by adding more glow.
Keep collision shapes tied to gameplay. A cape, shadow or light effect should not unexpectedly enlarge the area that touches a hazard. Repeat movement and pickup checks after replacing art.
Good consistency comes from a repeatable specification and visible checks. Once the small set works together, expand one asset at a time and keep that same inspection routine.
If you want learning materials and a regular place to keep developing your project, TENG AI SCHOOL membership includes weekly group coaching calls alongside school materials and game-publishing access. Compare monthly and yearly membership.
Common questions
Does a scene illustration become a playable level?
A scene can establish an art direction. A playable level still needs assets, layout, collision, interactions and testing in the game engine.
Why do my AI game assets look different from each other?
The prompts may leave camera angle, scale, palette, light direction or material finish unspecified. Write those decisions into a reusable asset specification, use a consistent reference, and compare the results together at the size they will appear in the game.
Should I create all the game artwork before testing the style?
Start with a small representative family: a player, a floor tile, a prop and an interface element. Test contrast, scale and silhouettes in the actual scene. Correct the shared specification before producing a larger set.


