
THE SHORT ANSWER
Here’s where to start.
To build a game with AI, choose one small game idea, pick an engine, write a clear brief and ask for one playable feature at a time. Run the game after each change. Finish movement, a goal, a lose condition and a restart before adding art, extra levels or online features.
1. Turn the dream into one small game loop
Your dream game can be big. Your first build needs a clear finish line. A game loop is the action a player repeats: move, collect, avoid, score, try again. Pick a loop that can be tested in a single room, without accounts, servers or a huge inventory.
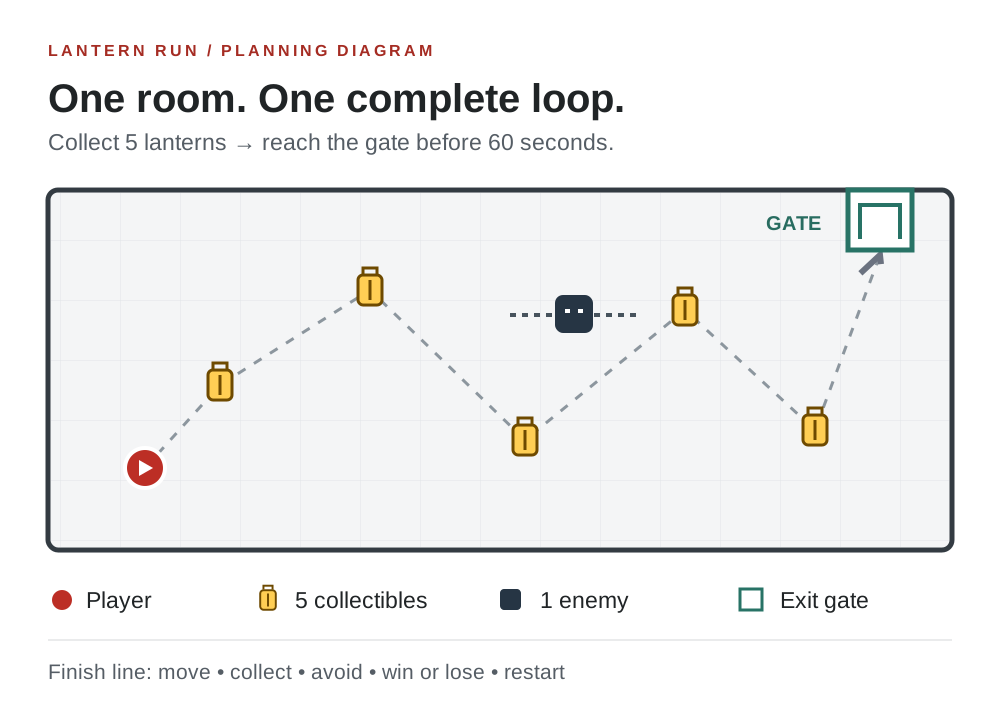
Use this original practice brief: Lantern Run is a top-down game where a player collects five lanterns, avoids one patrolling enemy and reaches a gate before a 60-second timer ends. Start with coloured shapes. The name is a working example, and the prototype is something you build yourself.
| Part of the game | First playable version |
|---|---|
| Player action | Move with arrow keys or WASD |
| Goal | Collect five lanterns, then touch the gate |
| Challenge | Avoid one enemy and beat the timer |
| Finish | Show a win or loss screen with Restart |
| Leave for later | Multiplayer, shops, character creation and extra levels |
2. Choose a game engine and an AI assistant
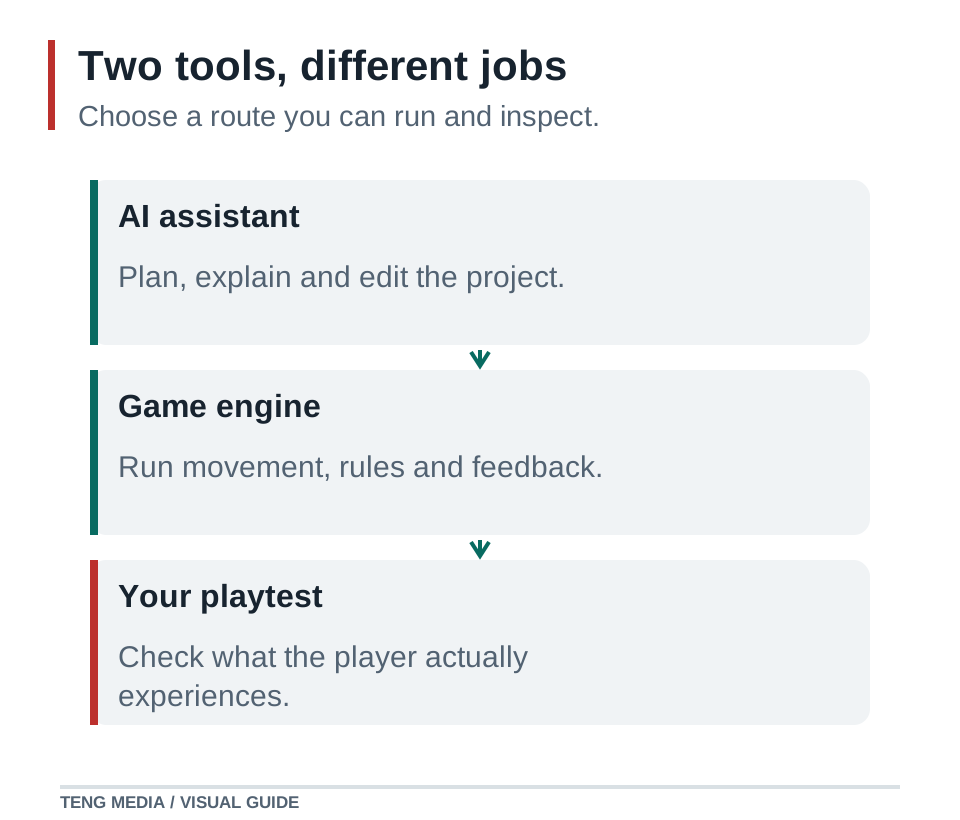
The engine runs the game. An AI assistant helps you plan, understand and change it. Keep those jobs separate. A helpful answer in a chat window is not proof that the game works.
Godot offers a visual editor and an official first 2D game tutorial. That tutorial assumes some programming experience and recommends starting with 2D before 3D. Phaser’s official first-game tutorial uses JavaScript and introduces a small browser game. If your immediate goal is a shareable 2D browser prototype and you are willing to work with JavaScript, Phaser is a reasonable route. If you prefer assembling scenes in an editor, explore Godot.
Choose one route for this project. Tell your assistant the engine, language and exact installed version. Ask it to explain unfamiliar terms as they appear. If you are new to coding, expect to learn how to open files, run the project and read an error message along the way.
3. Give AI a brief it can work from
A broad request like “make my dream game” leaves important choices undefined. Specify the player’s actions, your engine, the limits of this version and a test for success. The first request should establish a plan and a working project, not an entire world.
I am building Lantern Run, a small single-player 2D game.
Engine and installed version: [engine + version].
Language: [language]. Target: [browser or desktop].

The player collects five lanterns, avoids one patrolling enemy, then reaches a gate within 60 seconds. Use simple shapes for now. No accounts, multiplayer, shops or external services.

Inspect the existing project first. If there is no project, explain the minimum setup using this engine’s current official documentation. Give me a short plan. For the first change, implement only a visible player and movement inside one room. Explain how to run it and how I can check that movement works. Stop after this step.
Get more prompts for planning, movement, art and playtesting
4. Build in checkpoints you can actually test
Make a saved checkpoint or version-control commit after each working feature. If the next change breaks something, you have a known working version to compare against. Keep a short note describing what passed.
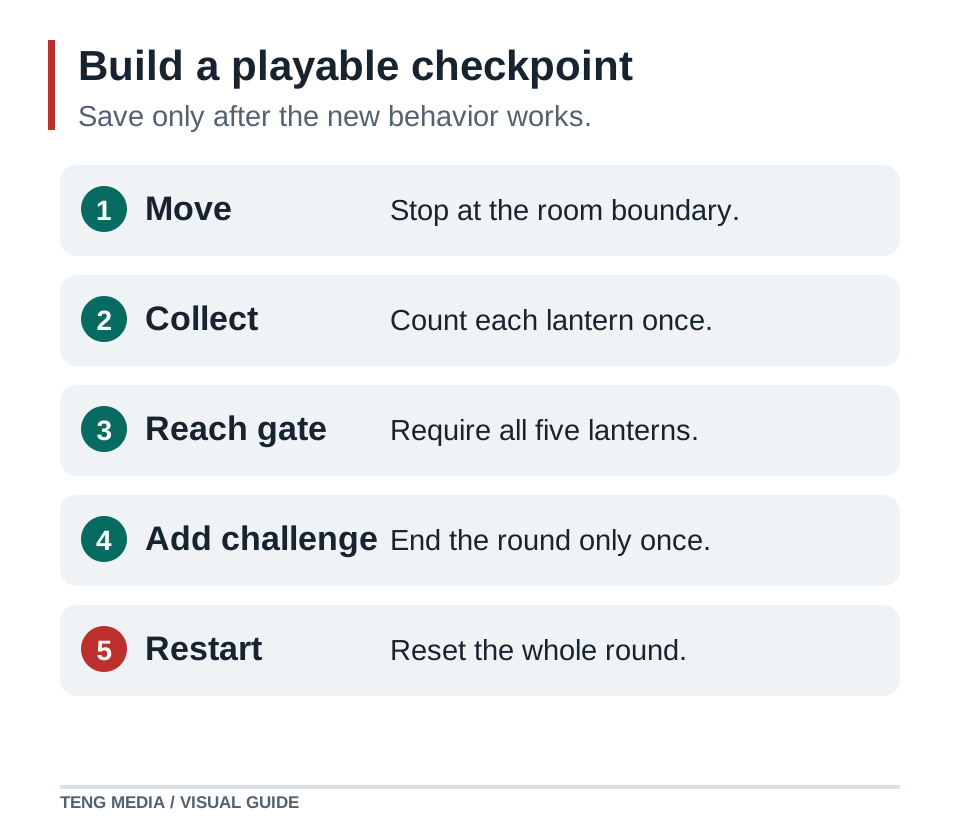
- Movement: the player moves in every direction, stays inside the room and stops when input stops.
- Collectibles: each lantern can be collected once. The counter starts at zero and reaches five.
- Gate: touching it before collecting five lanterns does not win. Touching it afterward does.
- Challenge: contact with the enemy or the timer reaching zero ends the round once.
- Restart: the player, lanterns, enemy, timer and counter all return to their starting state.
Define what happens if the final lantern, gate and timer interact in the same instant. For this example, choose a simple rule: once a win or loss is registered, the round ends and further events are ignored. Ask AI to implement that rule explicitly rather than letting whichever update runs last decide the result.
5. Add art after the game is understandable
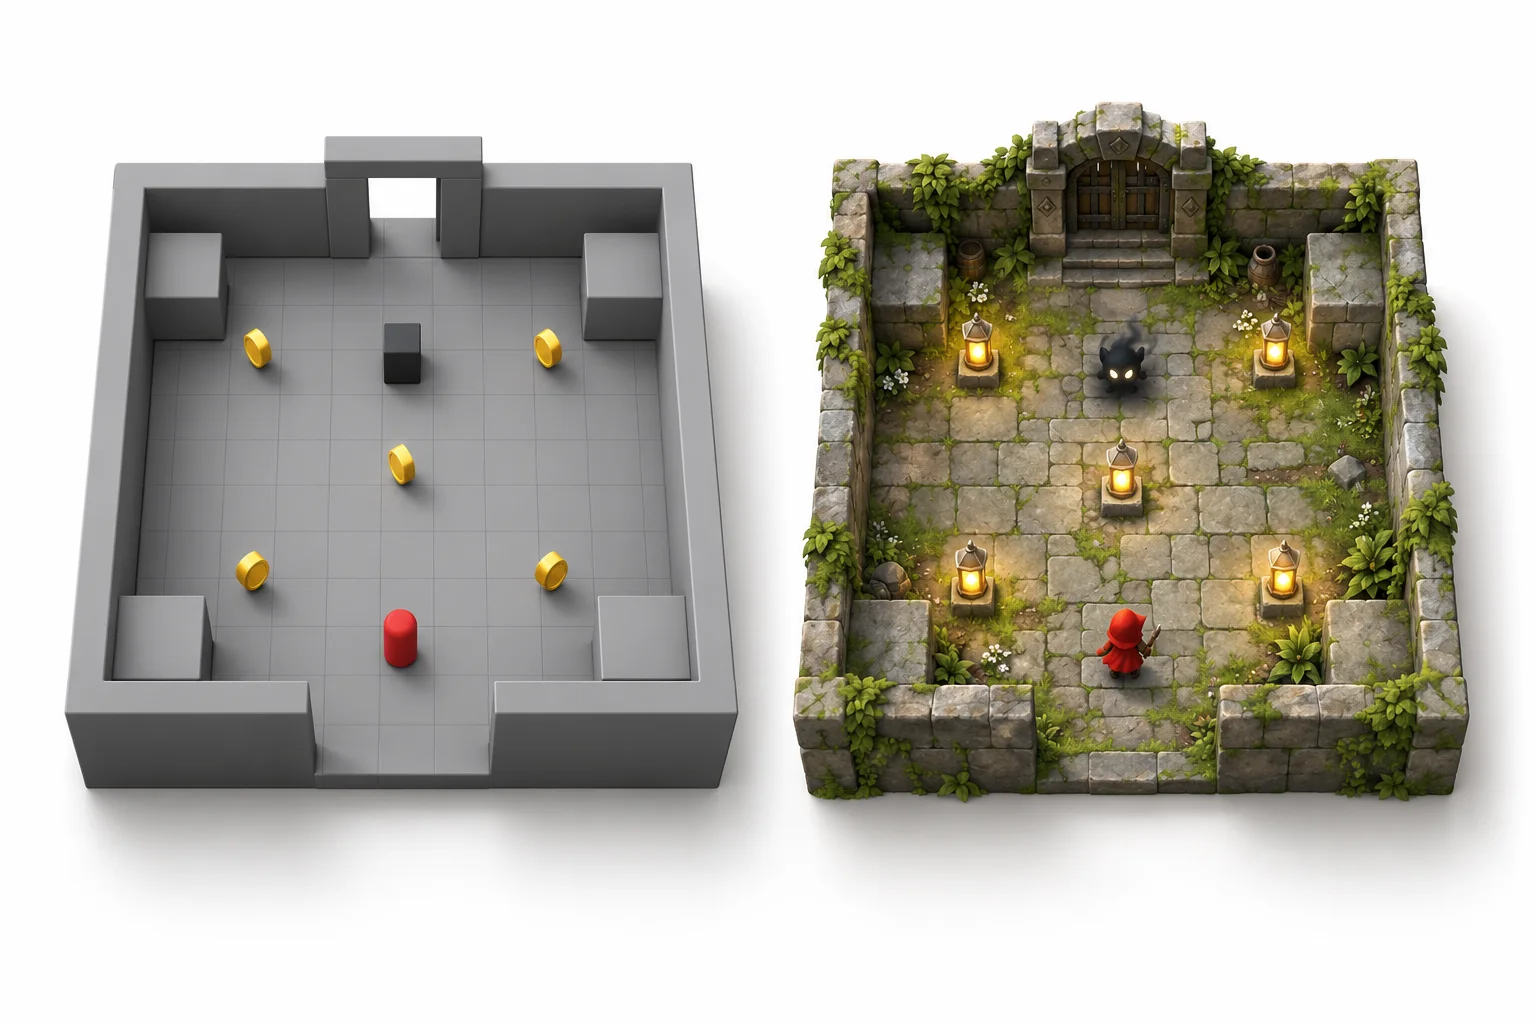
Replace one placeholder at a time. Write down the camera angle, sprite size, palette, lighting direction and background requirements before generating images. Keep the player and hazards readable against the floor. A beautiful image can still be a poor game asset if its silhouette disappears during play.
Keep collision shapes separate from decorative details. A long cape or a glowing effect should not accidentally make the player feel wider. After replacing an asset, repeat the movement and collision checks. Save the original files and record where each asset came from.
6. Playtest the complete round before sharing
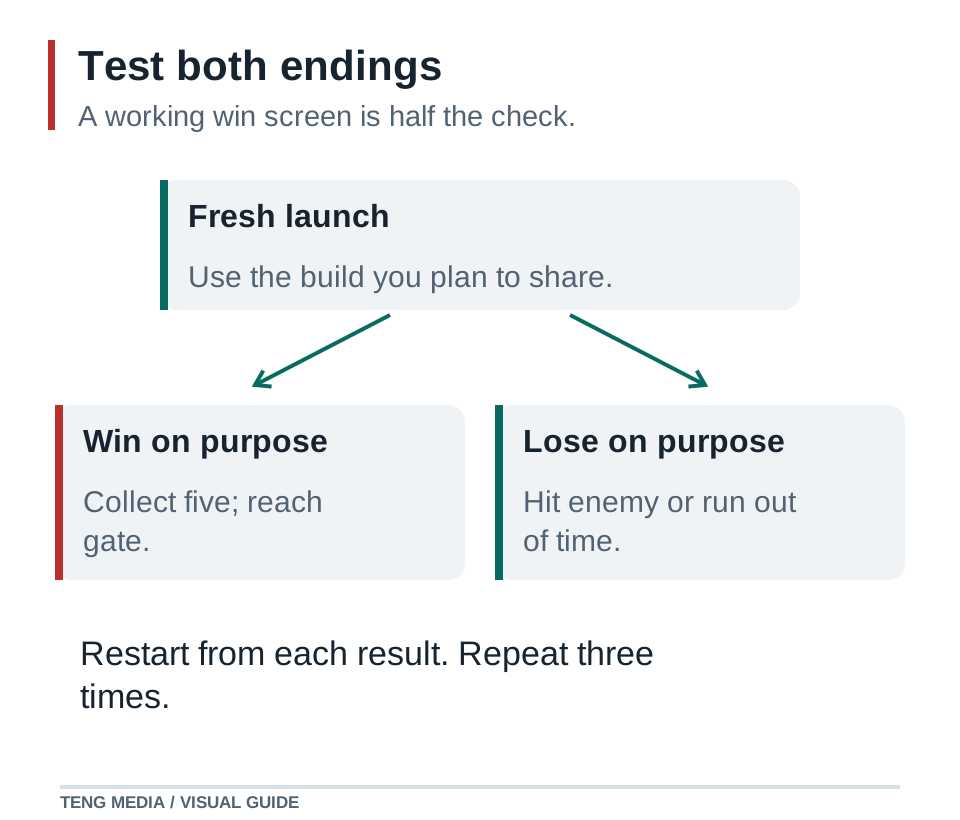
Start the game from a fresh launch, not only from the editor’s current state. Lose on purpose, win on purpose, then restart three times. Ask someone to play without coaching and watch where they hesitate. Change one confusing thing, then repeat the test.
- Can the player find the controls and goal before the first round?
- Does the game still work after a restart and a page refresh?
- If you promise mobile support, have touch controls and screen sizes actually been tested?
- Are missing files, loading failures and sound controls handled clearly?
- Is your shared build free of private keys, personal test data and unfinished account features?
When a change breaks the game, save the exact error and the actions that caused it. Ask for a targeted fix. Once the complete loop works, choose one improvement based on playtesting, such as a clearer gate indicator or better enemy feedback.
Common questions
Can I build a game with AI if I have never coded?
You can start with AI assistance, but you will still need to learn the basics of your tools, run the project and test changes. Choose a small 2D game and ask for explanations alongside each change. You do not need to understand an entire engine before taking the first step.
Can AI make the whole game from one prompt?
One prompt may produce a simple demo. A dependable game still needs decisions, testing, fixes and iteration. Treat an initial generated result as a starting point and verify every promised feature.
Should my first AI game be 2D or 3D?
For this beginner workflow, start in 2D. It lets you focus on movement, goals and feedback before adding camera control, 3D assets and more complicated spatial problems.
Sources & further reading
References checked on October 3, 2026. Use documentation that matches your installed engine version.
- Godot’s official first 2D game tutorial ↗Engine prerequisites and the recommendation to begin with 2D.
- Phaser’s official first game tutorial ↗JavaScript prerequisites and a small browser-game starting point.